Attachment Procedure
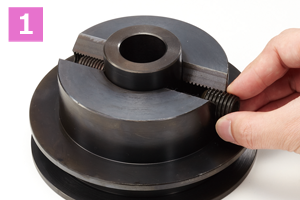
Manually tighten the concave (set) screw.
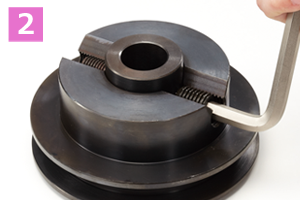
Use a hex key (Allen wrench) or other general tightening tool to tighten.
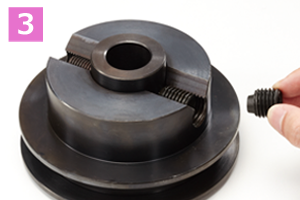
Then tighten the convex (lock) screw manually. Make sure that there is a gap of about one pitch between the concave and convex screws before tightening.
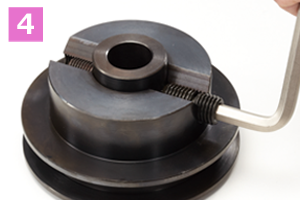
Tighten the convex (lock) screw with a general tightening tool to the specified torque or one turn (360 degrees).
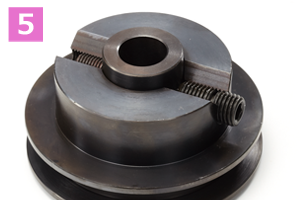
The installation is now complete.